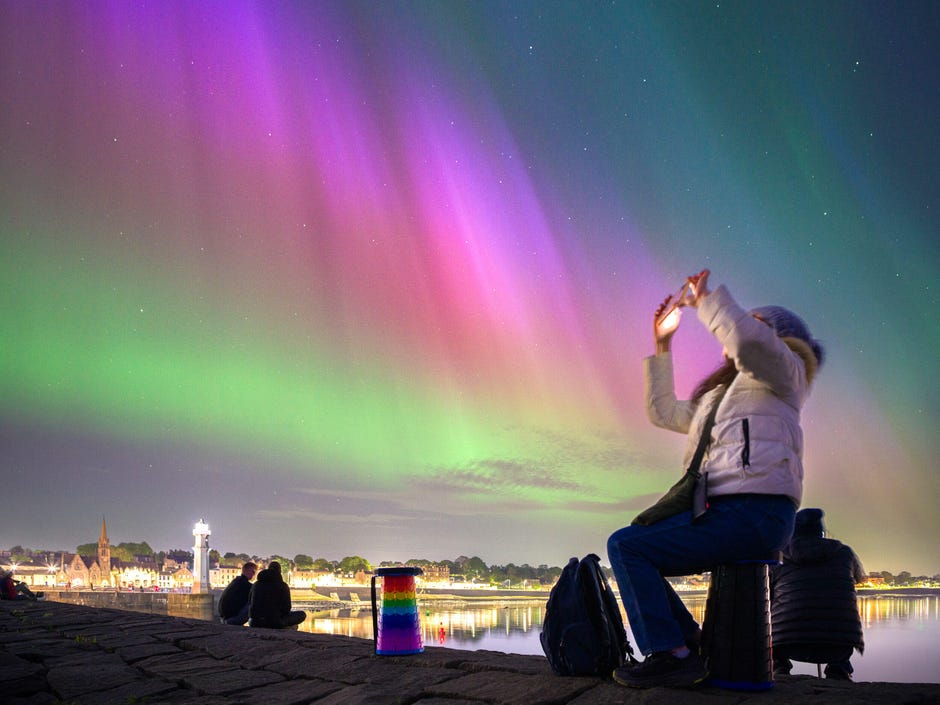
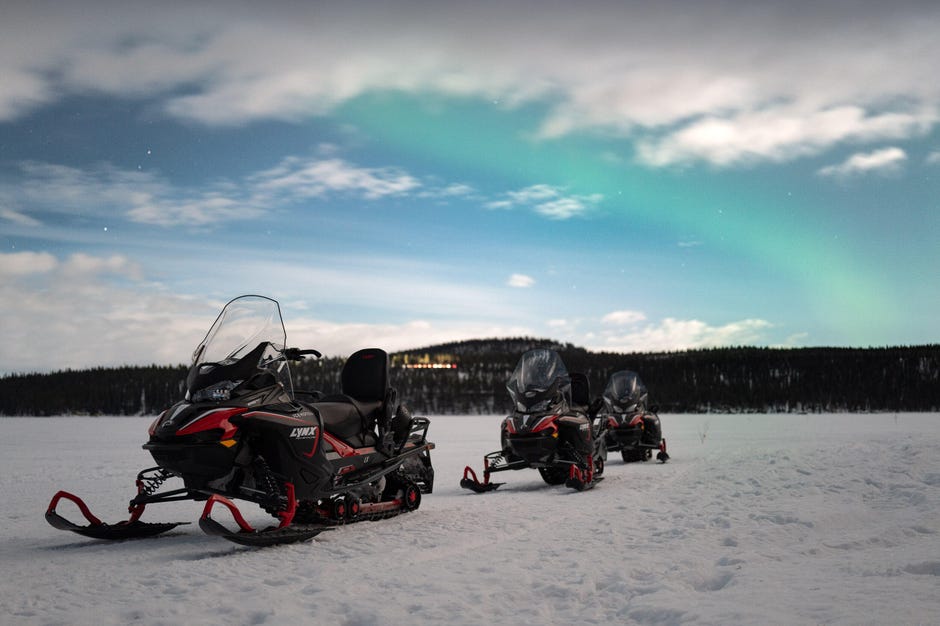
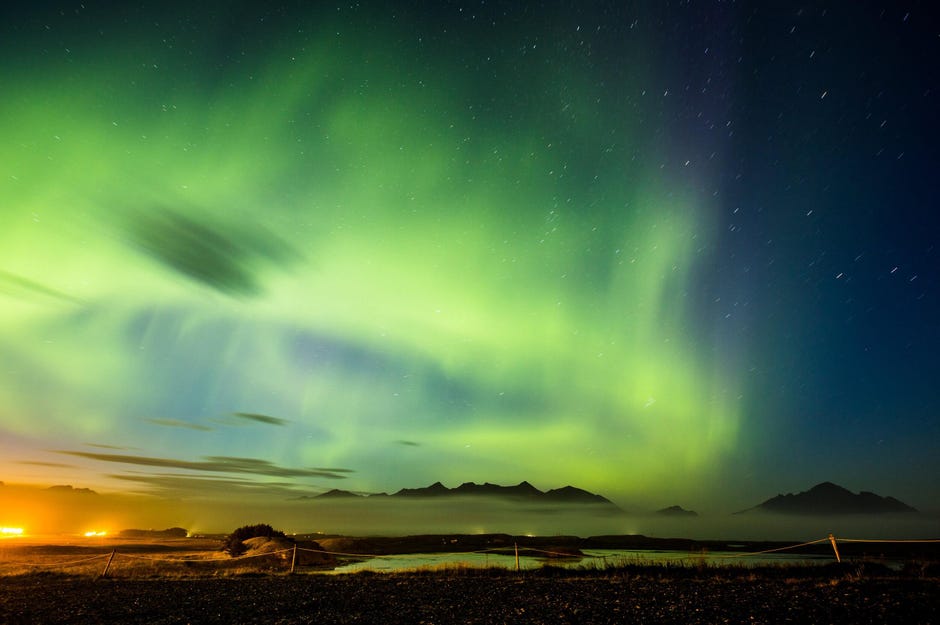
The Northern Lights — known fully as the Aurora Borealis — present an incredible spectacle, painting the nighttime sky with vibrant hues. Usually observed in far-northern locations such as Iceland, Alaska, or Norway during wintertime, this celestial display has increasingly appeared in more southerly regions at various points throughout the year. Notably, the Northern Lights made appearances in May and October of last year in these southern locales.
easily noticeable throughout much of the United States
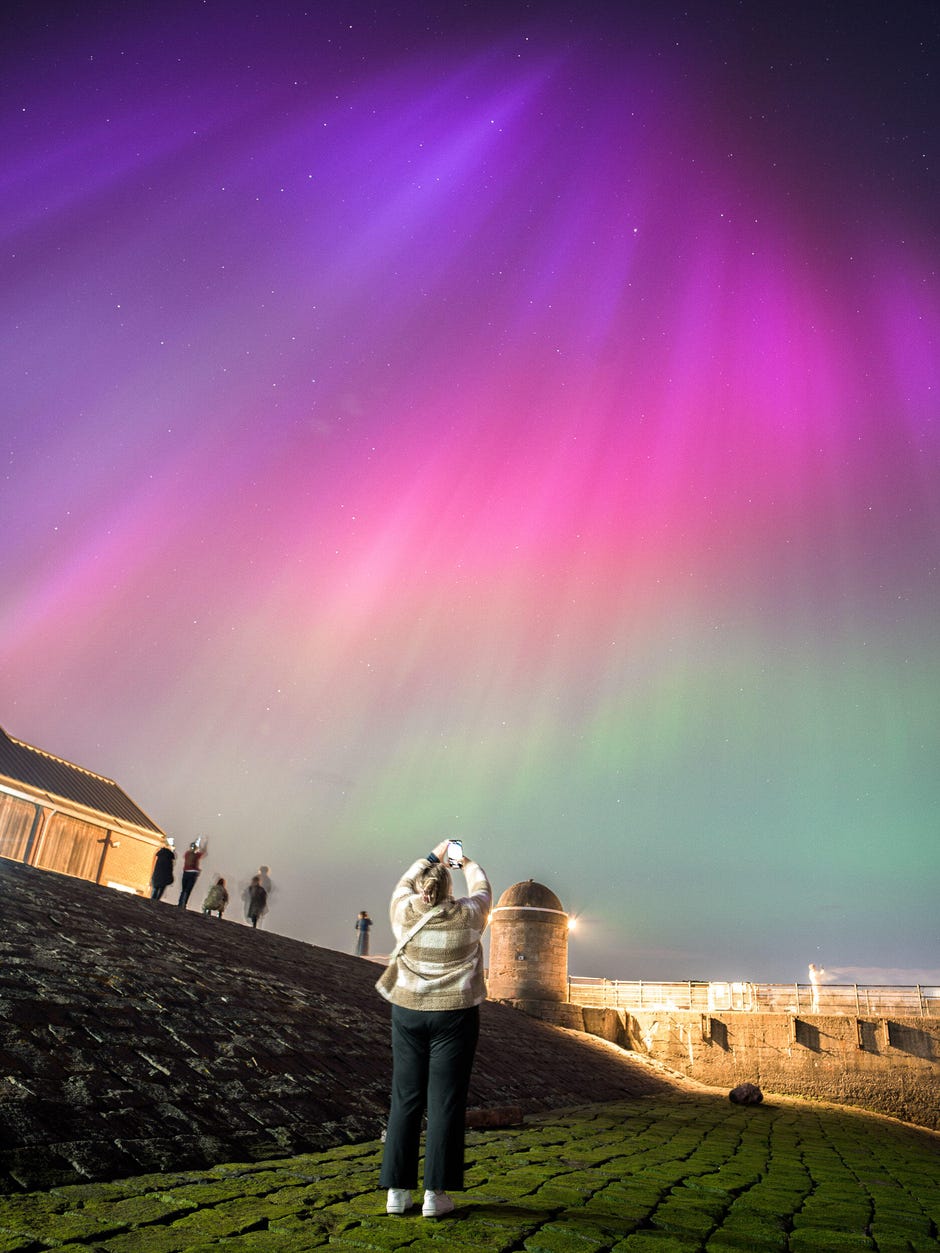
And in Europe, Dailyexe’s team enjoyed stunning views in Missouri, Kansas, and New York. Personally, I had a fantastic experience capturing images in Edinburgh, Scotland.
Photographing the aurora can be quite spectacular, and you can capture stunning images with just your equipment.
phone
Without requiring additional gear, I’ve served as a professional photographer for more than ten years and have captured the auroras across various locations globally. Thus, I’m sharing my top tips to help you capture your most impressive photographs of the northern lights yet.
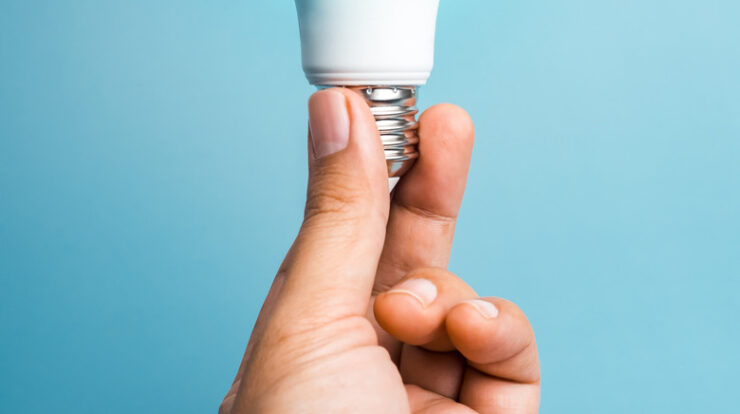
Ways to capture Aurora photographs using your smartphone
Most modern
camera phones
have extremely capable night modes that let them capture bright images even when it’s dark out. On most
iPhones
That mode will activate automatically when it senses insufficient lighting conditions (indicated by a small yellow moon icon appearing). Some
Android phones
may require you to shoot using a specific night-time photography mode that needs to be manually activated. Not sure how your phone’s night mode works? Google the model and “night mode” in advance to check how to do it.

When night mode is turned on, simply tapping the screen allows you to adjust the exposure, snap a photo, and let your device capture a stunningly detailed long-exposure shot of the northern lights effortlessly. However, several adjustments can further enhance these photographs.
Read more:
Take Your Best Night Mode Photos With Any Phone
Initially, although a tripod isn’t necessary for phone photography, maintaining stability is key. You might want to lean against something solid like a wall or keep your arms closer by locking your elbows and staying firm with your posture as the photo is captured. Taking a deep breath before shooting could also be beneficial.
Use primarily the main camera sensor for capturing high-quality images from your phone. While the ultra-wide lens might let you include more of the night sky, such cameras generally have smaller sensors and tighter apertures, not ideal for photography. Typically, smartphone standard lenses range close to 24mm, sufficient for obtaining good shots.
If you’re photographing with a newer iPhone, capture your picture utilizing Apple’s ProRAW format. It preserves additional image information and provides greater flexibility for tweaking the white balance and color adjustments through Apple’s native editing features or applications such as Snapseed or Adobe Lightroom. Many Android devices provide DNG raw photo options, and I highly suggest making use of these capabilities.
Changing the white balance in an aurora photo can often be critical, especially if you’re shooting near urban areas where the orange glow of street lights can throw off your phone’s camera. By shooting in raw, you can adjust the colors, along with exposure and contrast to really let the aurora’s colors pop.
How to take a photo of the aurora with a camera
Using a regular DSLR or mirrorless camera is the best way to take photos of the northern lights. These cameras have much larger image sensors and bigger lens openings to capture much more light than your phone can. However, you’ll need some extra gear.
Read more
:
Best Camera to Buy in 2025
Initially, ensure you have a sturdy tripod since photographs of the Northern Lights often require exposures lasting several seconds, making stability essential. Should your camera support different lenses, choose one with approximately a 20mm focal length to cover a broader view. Opt for a wide aperture setting; aim for at least f/2.8, though an f/1.8 prime lens would be ideal as it allows more light intake through its larger opening.
Best camera settings for taking photos of the aurora
I find it best to take manual control of the camera when shooting the aurora as the varying light levels can throw off any auto or aperture priority modes. These are the exposure settings you need to consider:
Wide aperture
: As wide as your lens can go in order to let in more light. Ideally f/2.8, but f/2 or f/1.8 is better.
High ISO speed
: The higher the ISO, the more sensitive your sensor will be to light. ISO 800 is a good starting point, but you may find you want to push it to ISO 1000 or beyond. The higher the ISO speed, the more image noise (digital grain) will be visible, but most modern cameras (especially those with full-frame sensors) can handle high ISO speeds up to ISO 2000 very well with little to no visible noise.
Slow shutter speed
: Speeds of around two seconds are a good starting point, but again, you may find you need more light, so slowing it to five seconds might be necessary. Remember that the aurora does move, so if you want to capture it with clarity, keeping your shutter speed to a few seconds is best. If instead you want to fill the sky with a total wash of color (also fine), you can try experimenting with even slower speeds of 30 seconds or more.
Remember that during long exposures, even slight movements can cause blurriness in your photo, so avoid touching the camera when it’s capturing images. In case you lack a remote release cord, utilize the 2-second self-timer function to let any potential shakes dissipate prior to the shot being taken.
Raw format
Just as with smartphones, capturing images in RAW format provides complete control over adjusting the white balance using software such as Adobe Lightroom at a later stage. It also offers greater flexibility for enhancing shadow details and recovering highlight information. Therefore, shooting in RAW mode with your camera is essential in this scenario.
Suggestions for improving your northern lights photography
Even with the appropriate equipment and proper adjustments, you can transform ordinary “nice” shots into stunning “WOW!” artworks.
Initially, think about where you are situated. While photographing from your bedroom window may seem easy, there could be a close-by place that offers a superior vantage point for capturing the scene. Should you expect an aurora borealis display that night, attempt to arrange a short getaway outside of town to escape urban light pollution, allowing the vibrant hues to stand out more prominently.
Read more
:
Top Tripod for Photography in 2025
Make sure to focus on your composition. Certainly, aiming your camera straight up to capture just the aurora against the sky works well, but consider incorporating elements from the surrounding landscape into your shot. Perhaps include features like mountains, rivers, lakes, or even coastal bays beneath the shimmering aurora for a more striking photograph.
Maybe you find yourself in an urban setting, distant from nature’s picturesque views. Don’t fret — consider focusing on architecture instead. Look for a vantage point that overlooks the cityscape, enabling you to photograph the captivating play of lights overhead. Having certain concepts in mind could be beneficial; thus, if capturing the northern lights intrigues you, searching online for visual references might inspire your photography.
Finally, don’t forget about editing. The editing stage can transform your aurora photos. Those of you shooting in raw format will already need to adjust the white balance of your images, but any shot will benefit from a few key tweaks. In my own images, I’ll often slightly increase the exposure, up the contrast and even add some clarity to help the details of the aurora really stand out.
Increasing the saturation is a no-brainer (we really want those colors to stand out!) and adjusting the crop to eliminate any unwanted distractions can be helpful too. There’s no right or wrong way to edit your photos, so it’s worth spending some time playing with the sliders.